
Multiple Exposure Project: Process Documentation

1. Taking the portrait photo + setup

I took this portrait photo using only the keylight in the setup listed below. I wanted a more dramatic setup, thus utilizing one light.

2. Clipping/Masking out the subject

I used the mask function on Photoshop to isolate the subject from the background, but it was not a perfect mask. Besides the top of the head, the hair was quite difficult to manage.

I used the gradient tool to create a diagonal black to gray gradient from the left to the right. The imperfections of the mask are clearer, so I attempted to clean up the edges.

To deal with the hair, I used a multiply blend mode of black and clipped it to the mask. Thus, I colored in the light bits in the hair to make it more realistic.

The result of the blend mode: no longer looks awkward/grainy against background.

3. First multiple exposure photo

Here I added the black and white adjustment layer so the subject matches the background. I also slightly changed the hues so her skin tone is brighter/contrasted.

Settings for black and white adjustment layer: only yellows and greens altered, the rest of the colors were untouched.

I added a brightness/contrast adjustment layer to create a distinction in the values more. I slightly increased the brightness, and increased the contrast by a larger margin.l

**Additional edit: changing the direction of gradient
As an afterthought, I figured that a gradient going from left to right --> light to dark would fit the composition more.

4. Multiple exposure photo addition

Image credit: https://freerangestock.com/photos/5659/tree-branches.html
From the internet, I found this silhouette photo of tree branches that I thought would fit the aesthetic of the portrait. However, I thought it looked busy, so I simply incorporated it into the subject's clothing. I used an invert smart filter to make the branches white and the background black as it gave a cooler effect against the clothing. Then, I made it a multiply blending mode and clipped it to the subject mask so it only be isolated on the subject. Finally, I used a mask to isolate the branch design to only the turtleneck.
1. Clipped photo to subject mask w/ multiply blend mode
2. Inverted clipping layer
3. Masked out photo to turtleneck


Settings of aforementioned changes:

4. Second multiple exposure photo

Image credit: https://pixabay.com/vectors/tree-branches-silhouette-trunk-5965316/
I also found this tree png from the internet to add onto my project. I wanted to create a look as if the branches were sprouting from the subject's head, so I went ahead and made this an overlay blend mode over the subject. I also applied a mask and erased parts around the eye and where it intersects the turtleneck.

Settings of the changes:

5. Third multiple exposure photo

Image credit: https://www.onlygfx.com/15-tree-branch-silhouettes-png-transparent/
I used another branch silhouette png to add onto the project because I felt it was missing a few elements here and there. I used a darken blend mode, and I did not mask it out since the black blended in with the clothing anyways.

Settings of changes:

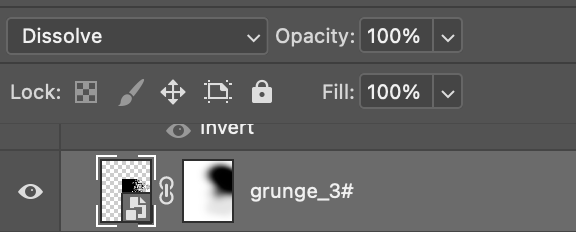
6. Fourth multiple exposure photo

Image credit: https://pikbest.com/png-images/grunge-texture-background-vector_9003622.html
I used a grunge png file to add some texture and gradation to the composition to balance out the weight of the branches from the head. I added it to the lower right corner next to the subject. I masked out half of it by making it fade in opacity, and I used a dissolve blend mode.

Settings of changes:
7. Background decorative photo

Image credit: https://clipart-library.com/new_gallery/309-3091253_free-png-tree-branch-silhouette-png-images-transparent.png
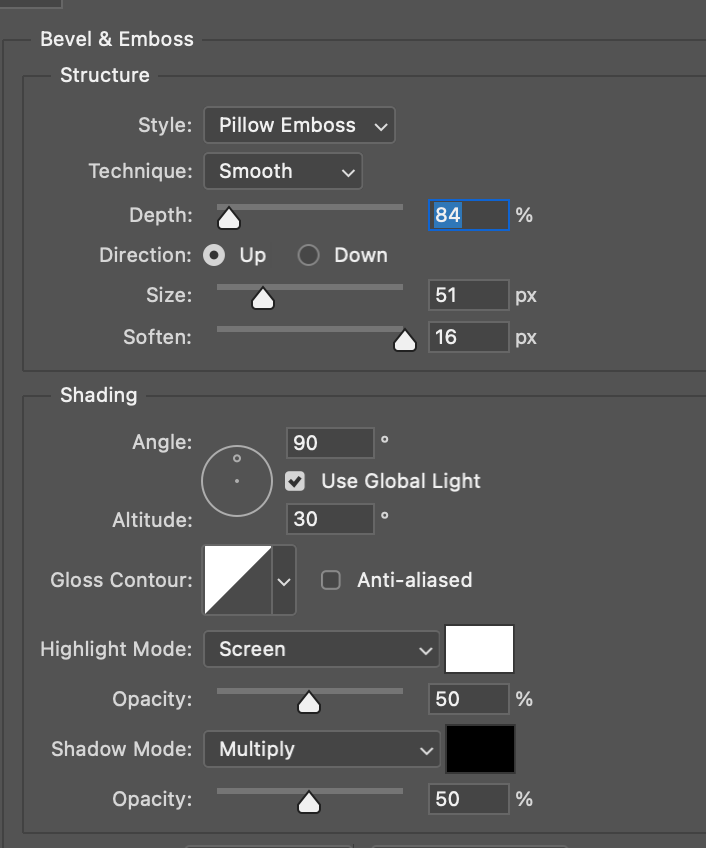
This was my last photo which I used to decorate the background. I used an invert smart filter to make the black branches white, and I applied an exclusion blend mode for the background. I experimented with the effects and I settled with the bevel and emboss effect which made it look etched into the background.


Left to right: invert filter, applied exclusion blend mode, bevel and emboss effect
Settings for changes in bevel and emboss effect:
8. Gradient Blend Mode

Gradient blend as normal clipped to subject: later changed to difference layer. Showcases color of gradient used.
I added a final gradient blend mode as a difference layer because I liked how it highlighted the back as if the lighting was realistic. I think it made the whole piece cohesive and completed it.
Settings of change:

FINAL PHOTO:


